
BytzVPN - MacOS Installation
BYTZVPN CREDENTIALS
You will need your BytzVPN username and password available to respond to the login prompt for the VPN. During purchase, your credentials are
automatically created and you will see it in MY SERVICES - MY VPN SERVICE on Brax.Me.
VPN PROFILES
VPN Profiles or the ovpn files needed by the app are found in Brax.Me MY VPN SERVICE for those with active subscriptions.
OPENVPN INSTALLATION
After download the openvpn installation file will be found in the Downloads folder as shown below.
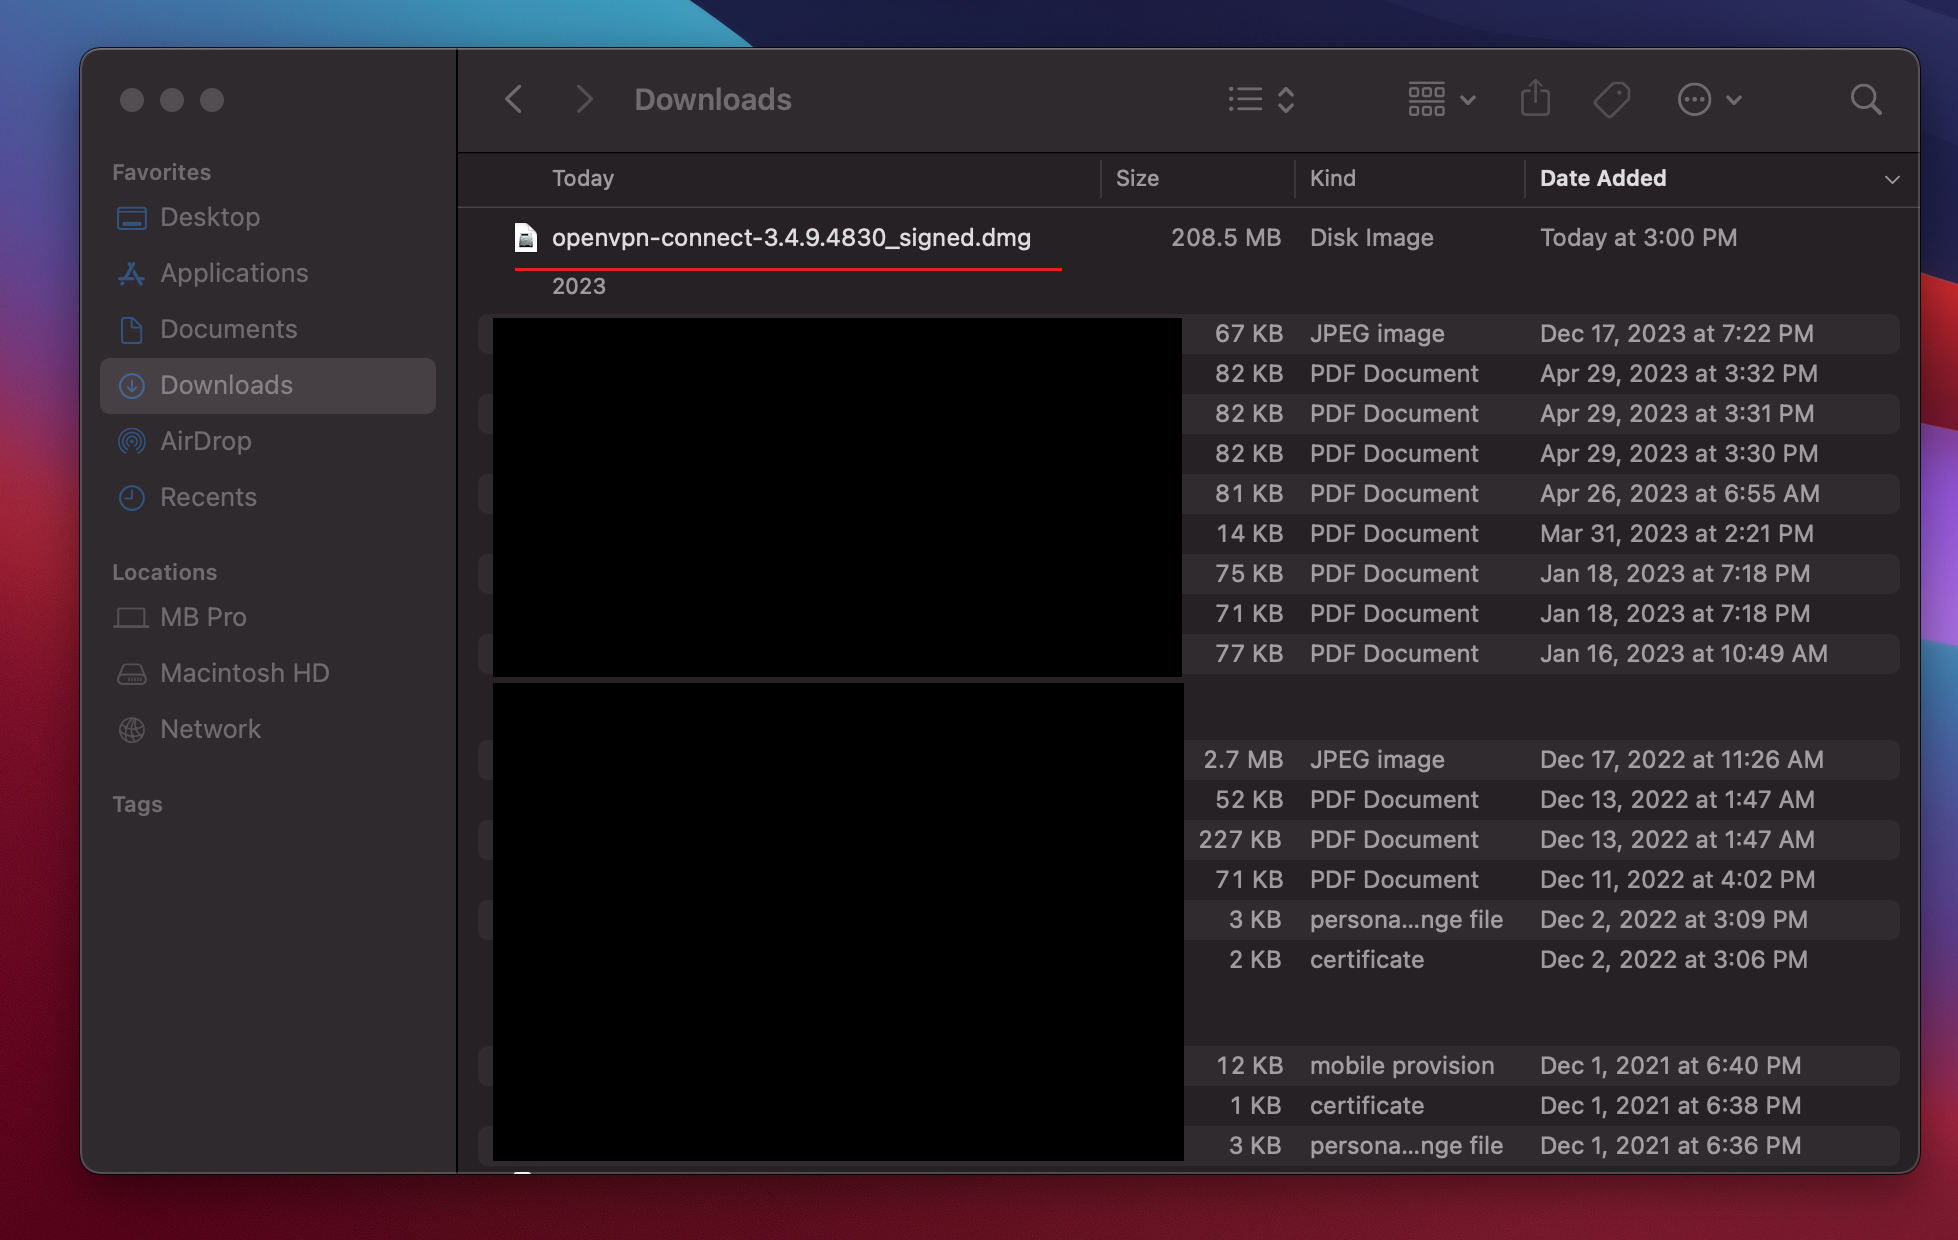
Double-click on the file name to begin installation.
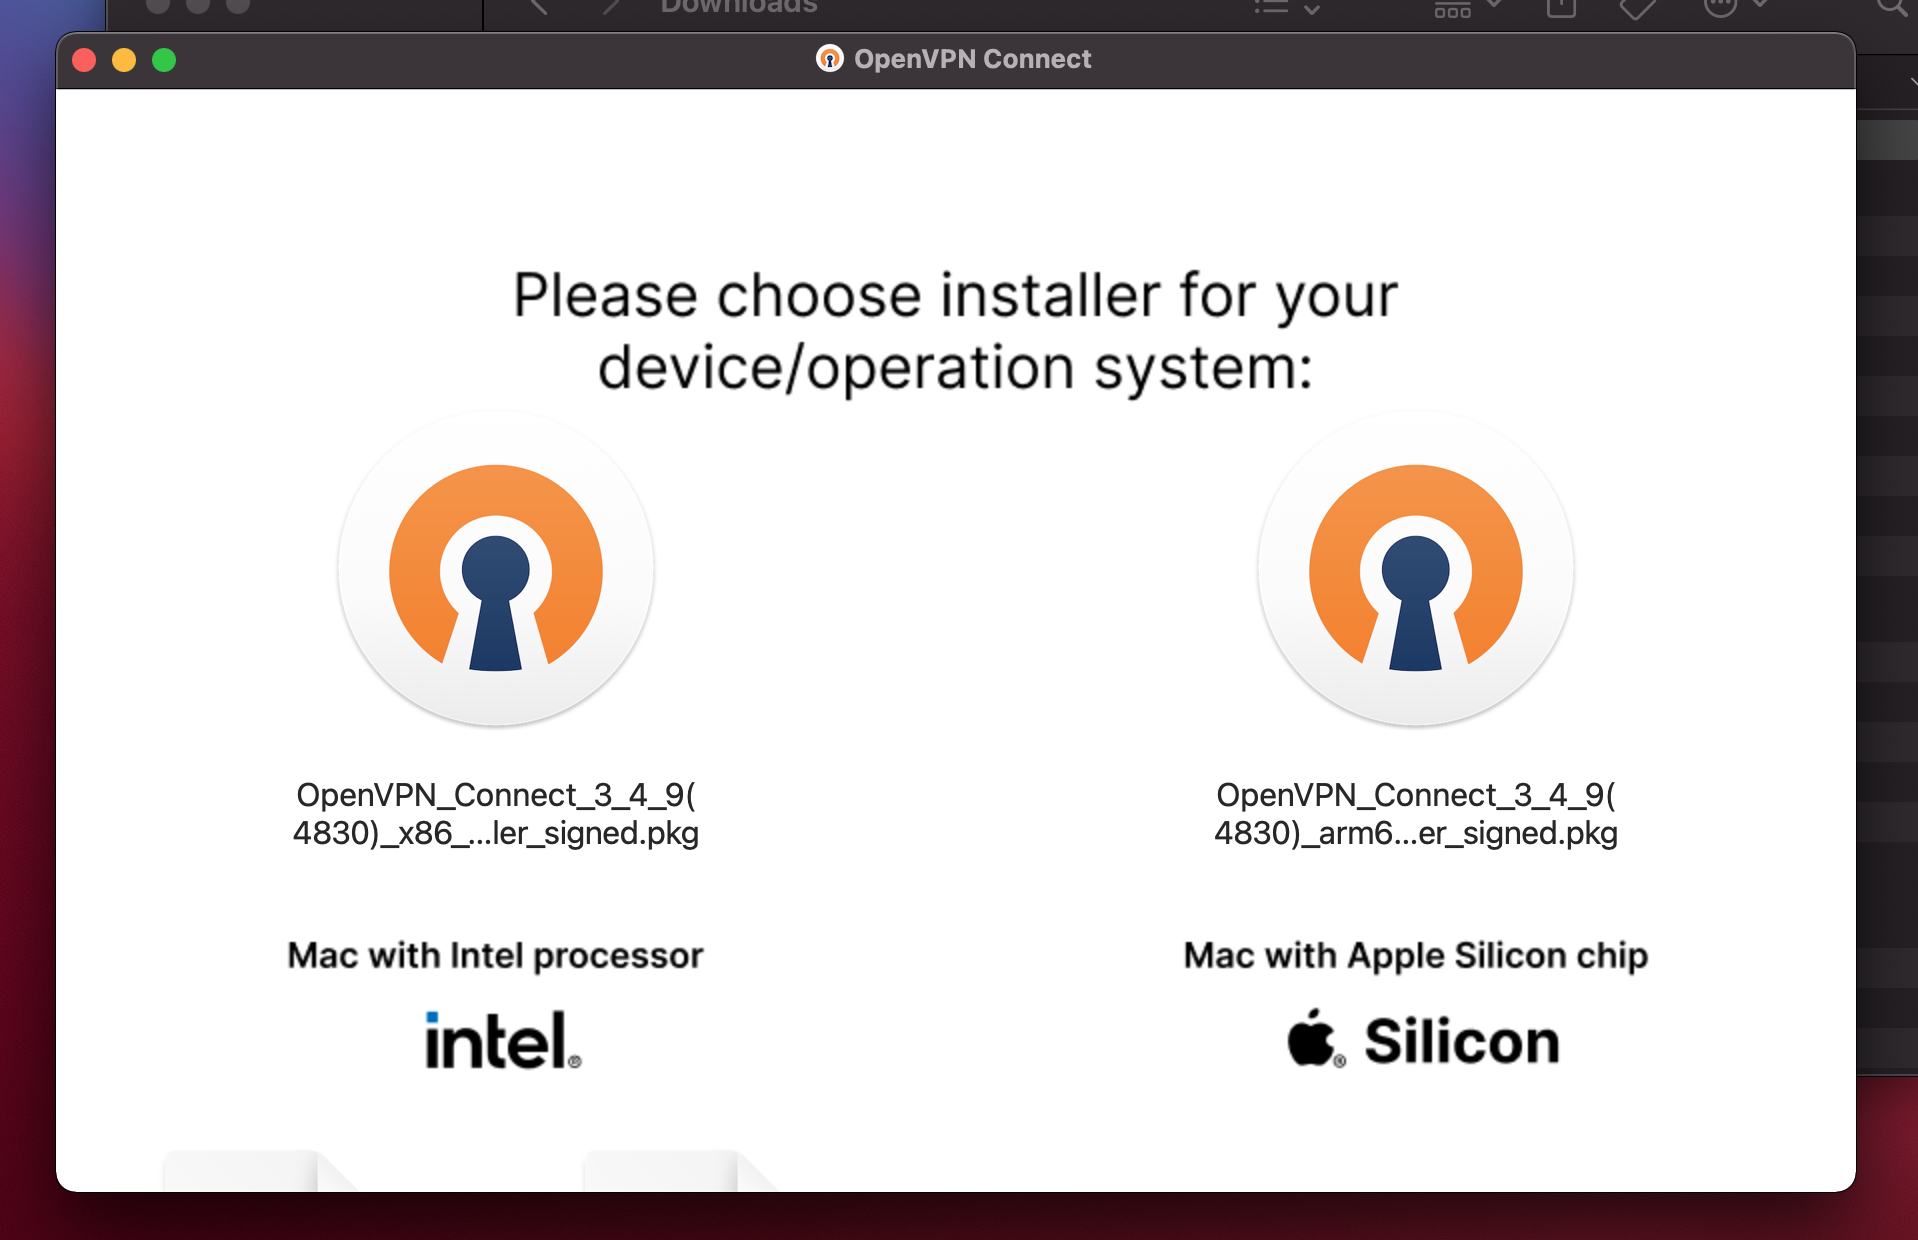
Now choose the version of OpenVPN that fits your particular hardware. Intel Macs vs Apple Silicon (M1-M4).
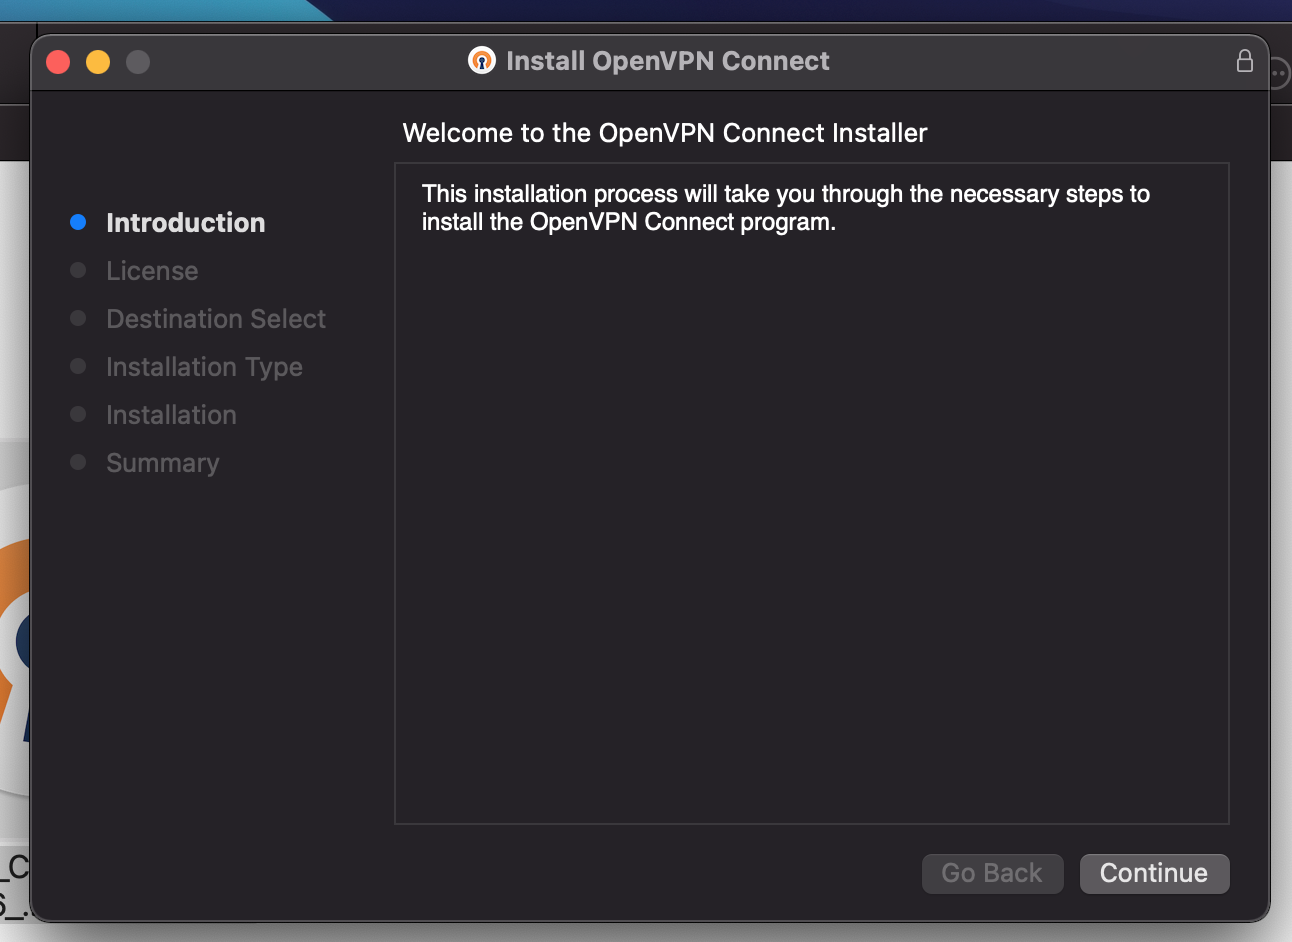
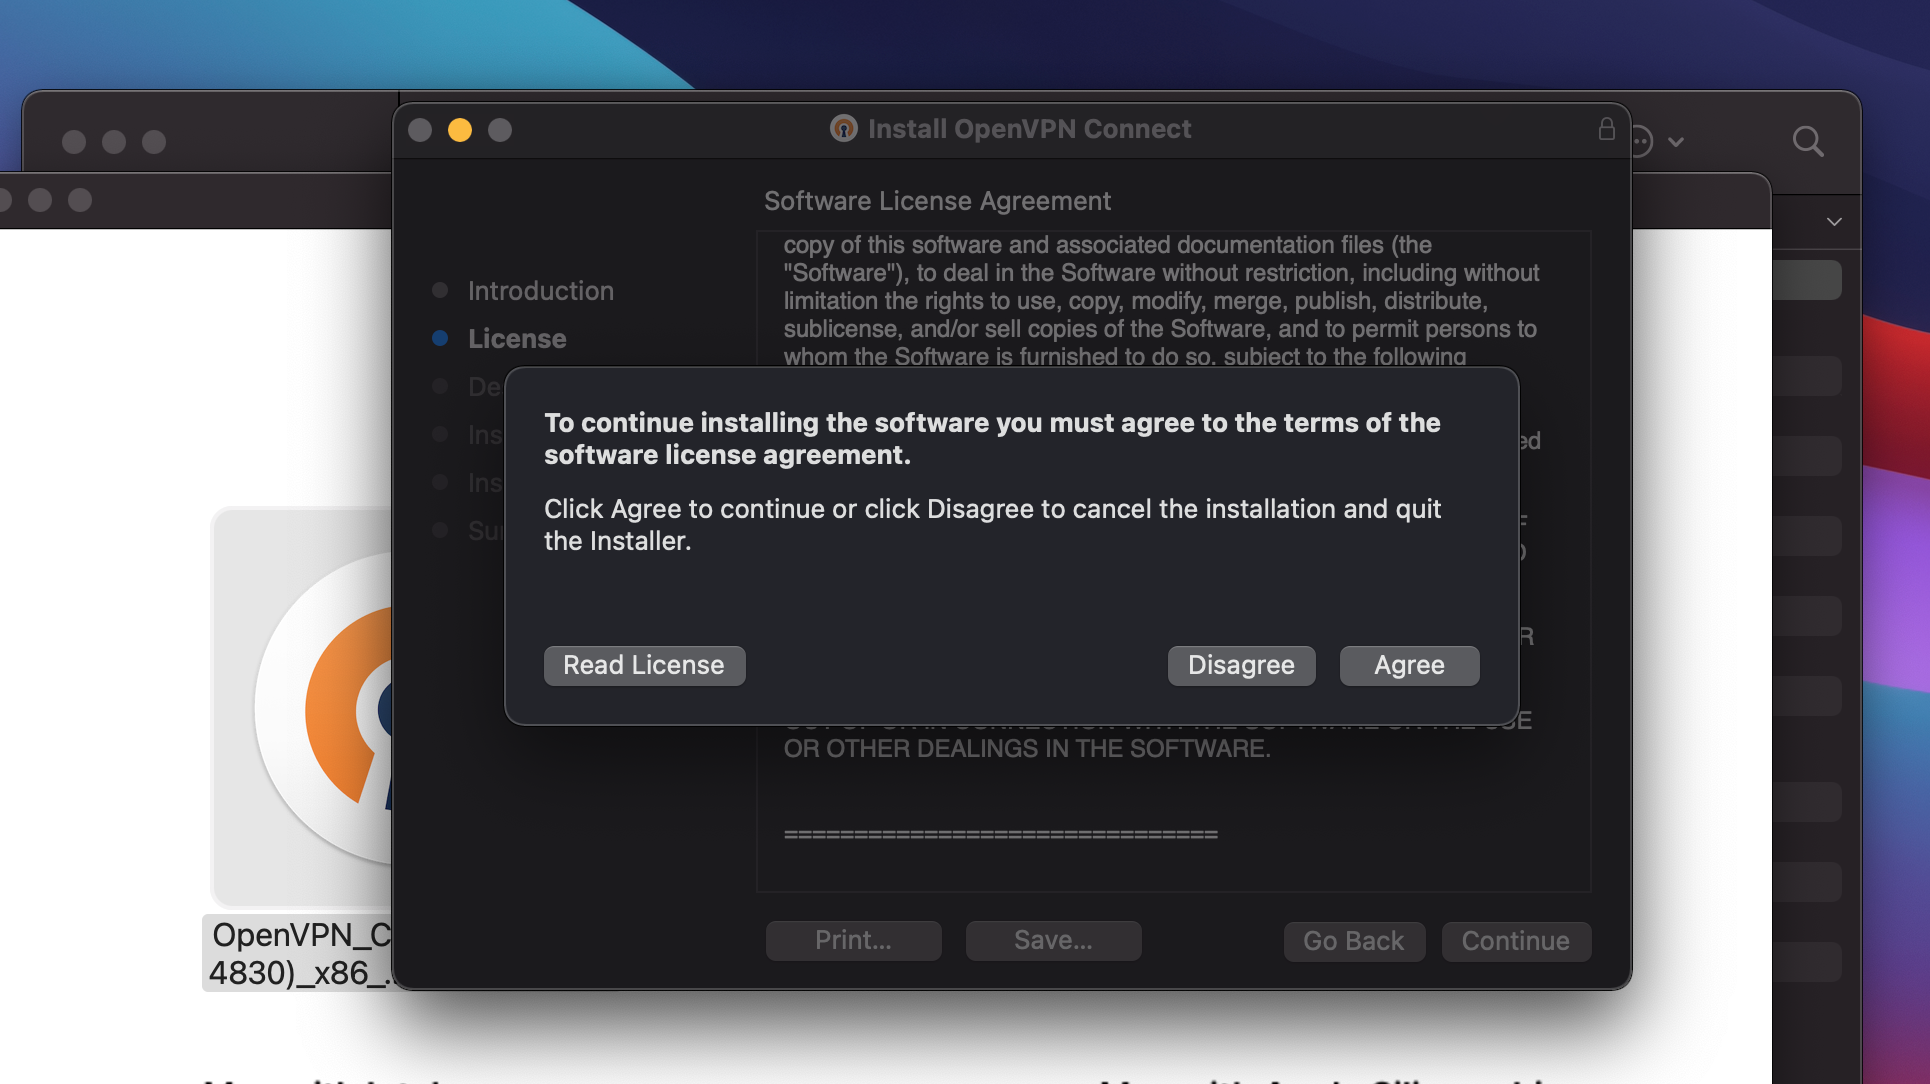
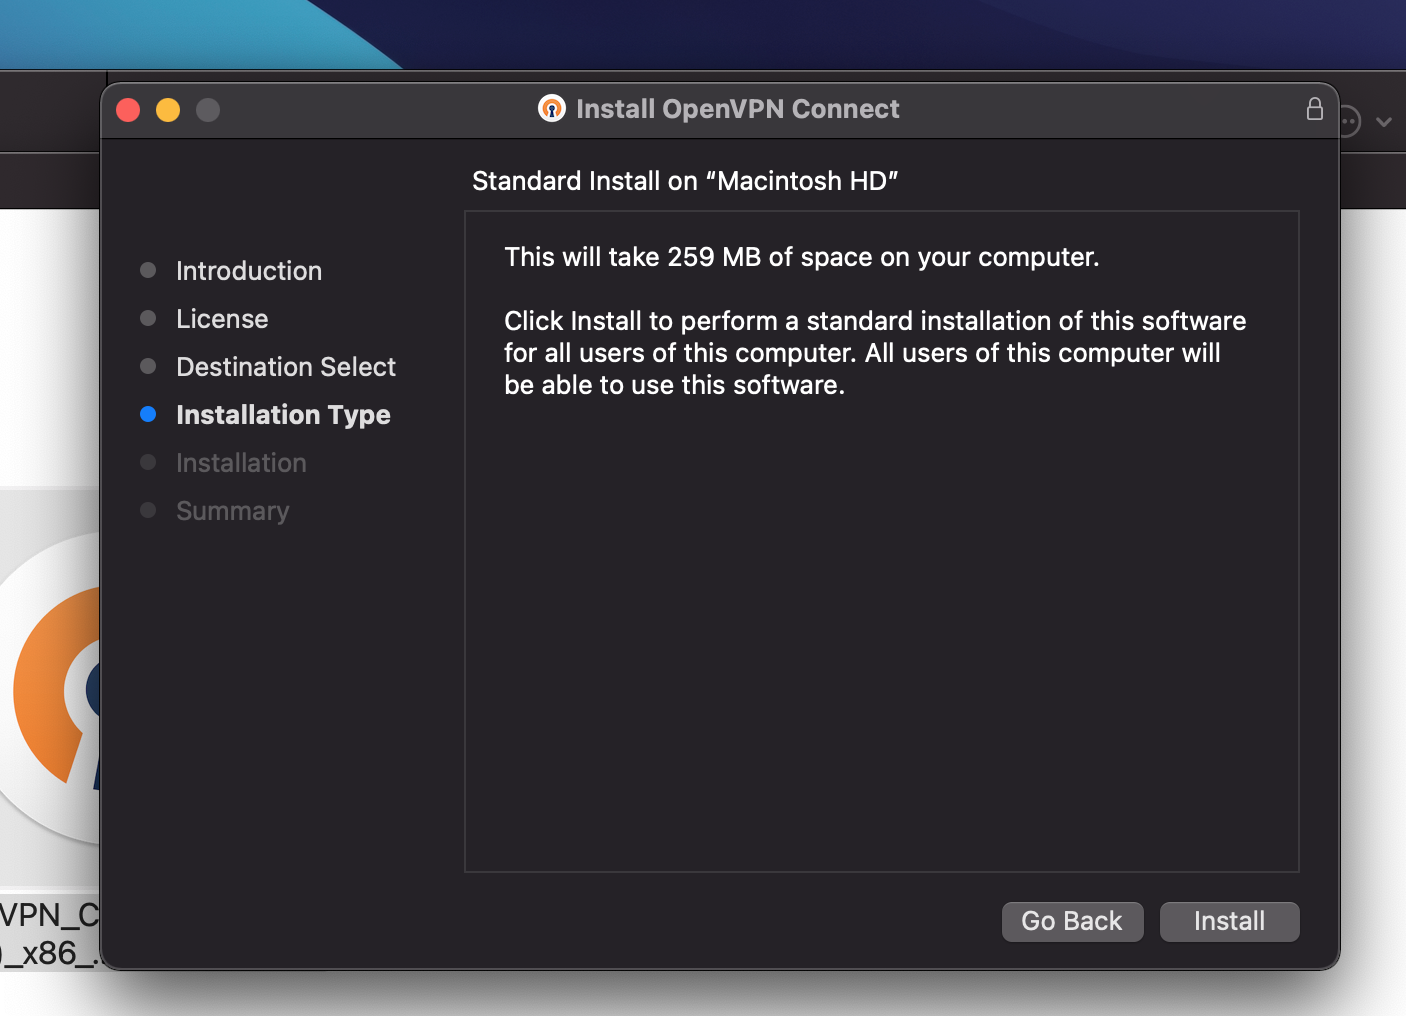
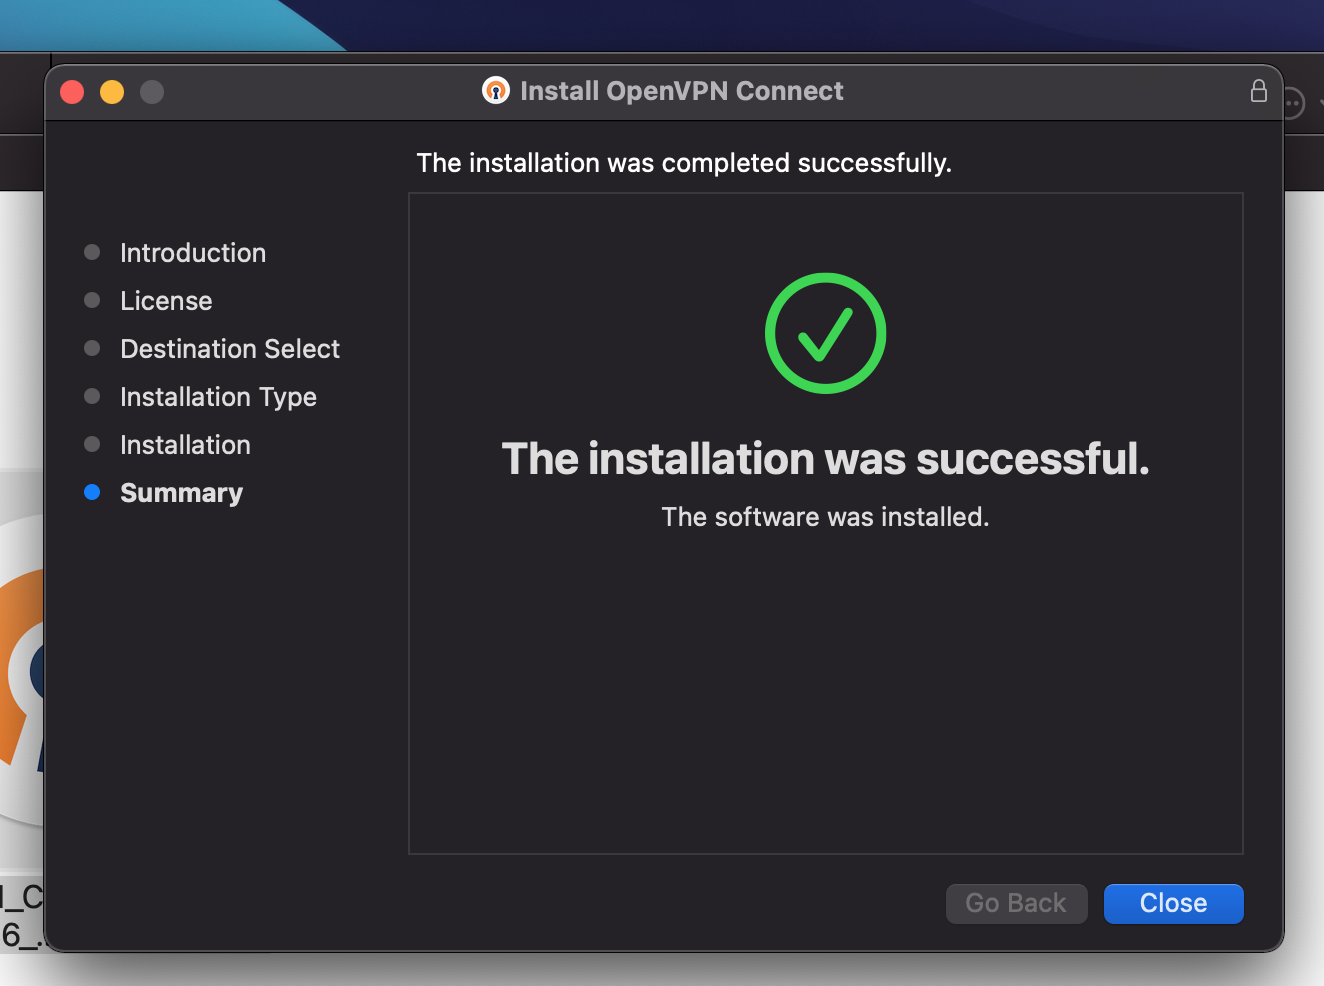
The next few screens go through the installation process. Select the default options.
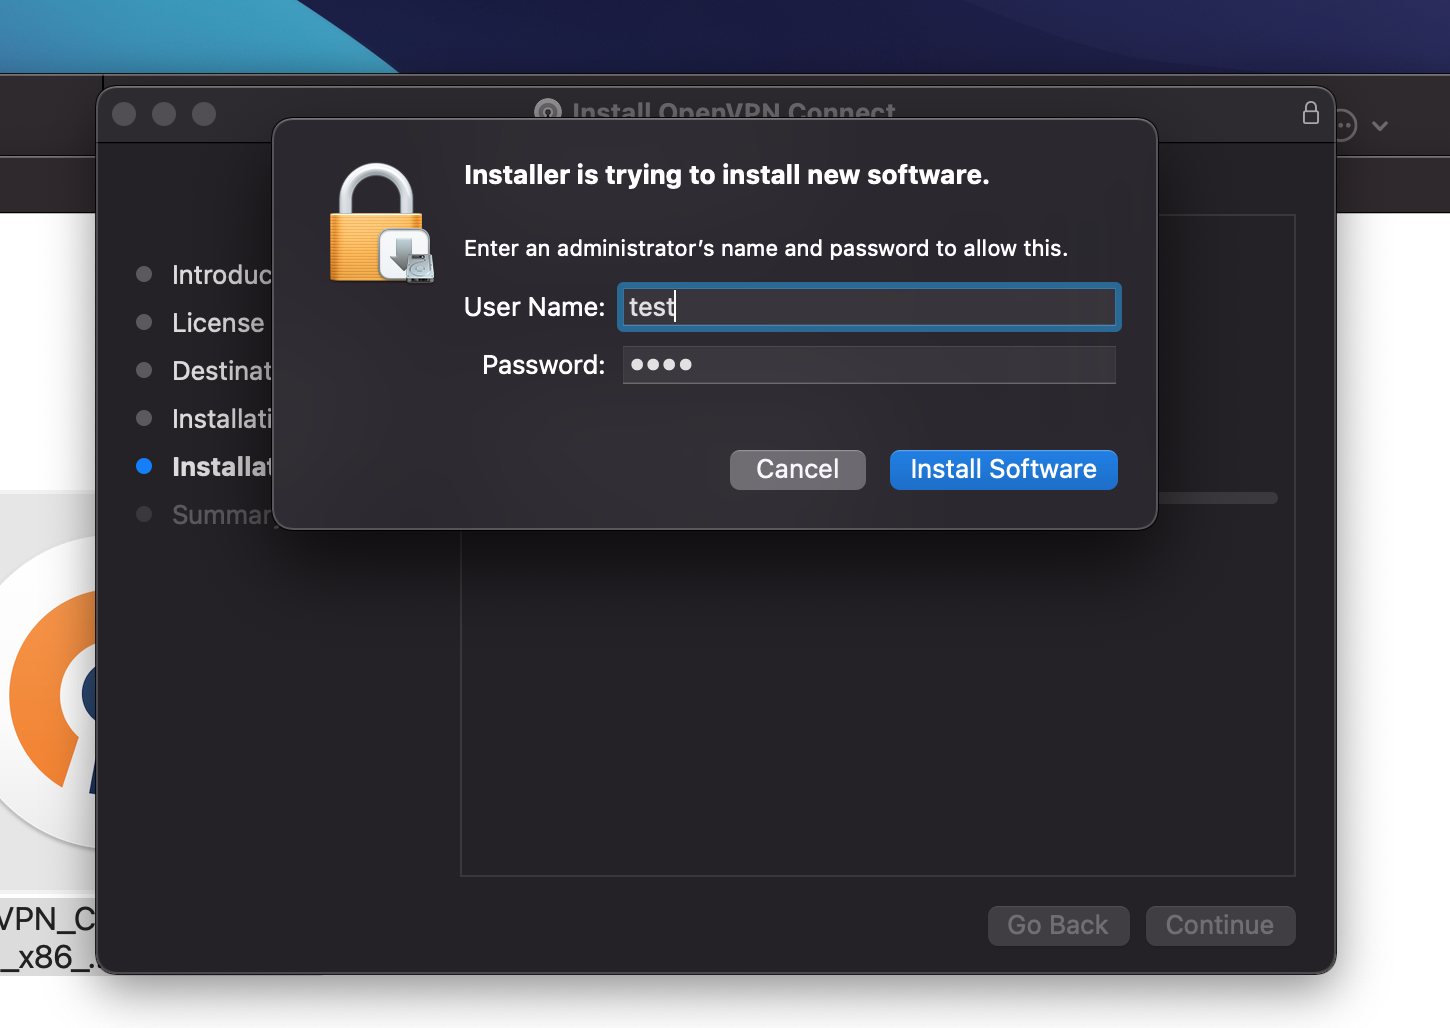
You will be prompted for the adminstrator name and password before installation can continue. Provide that.
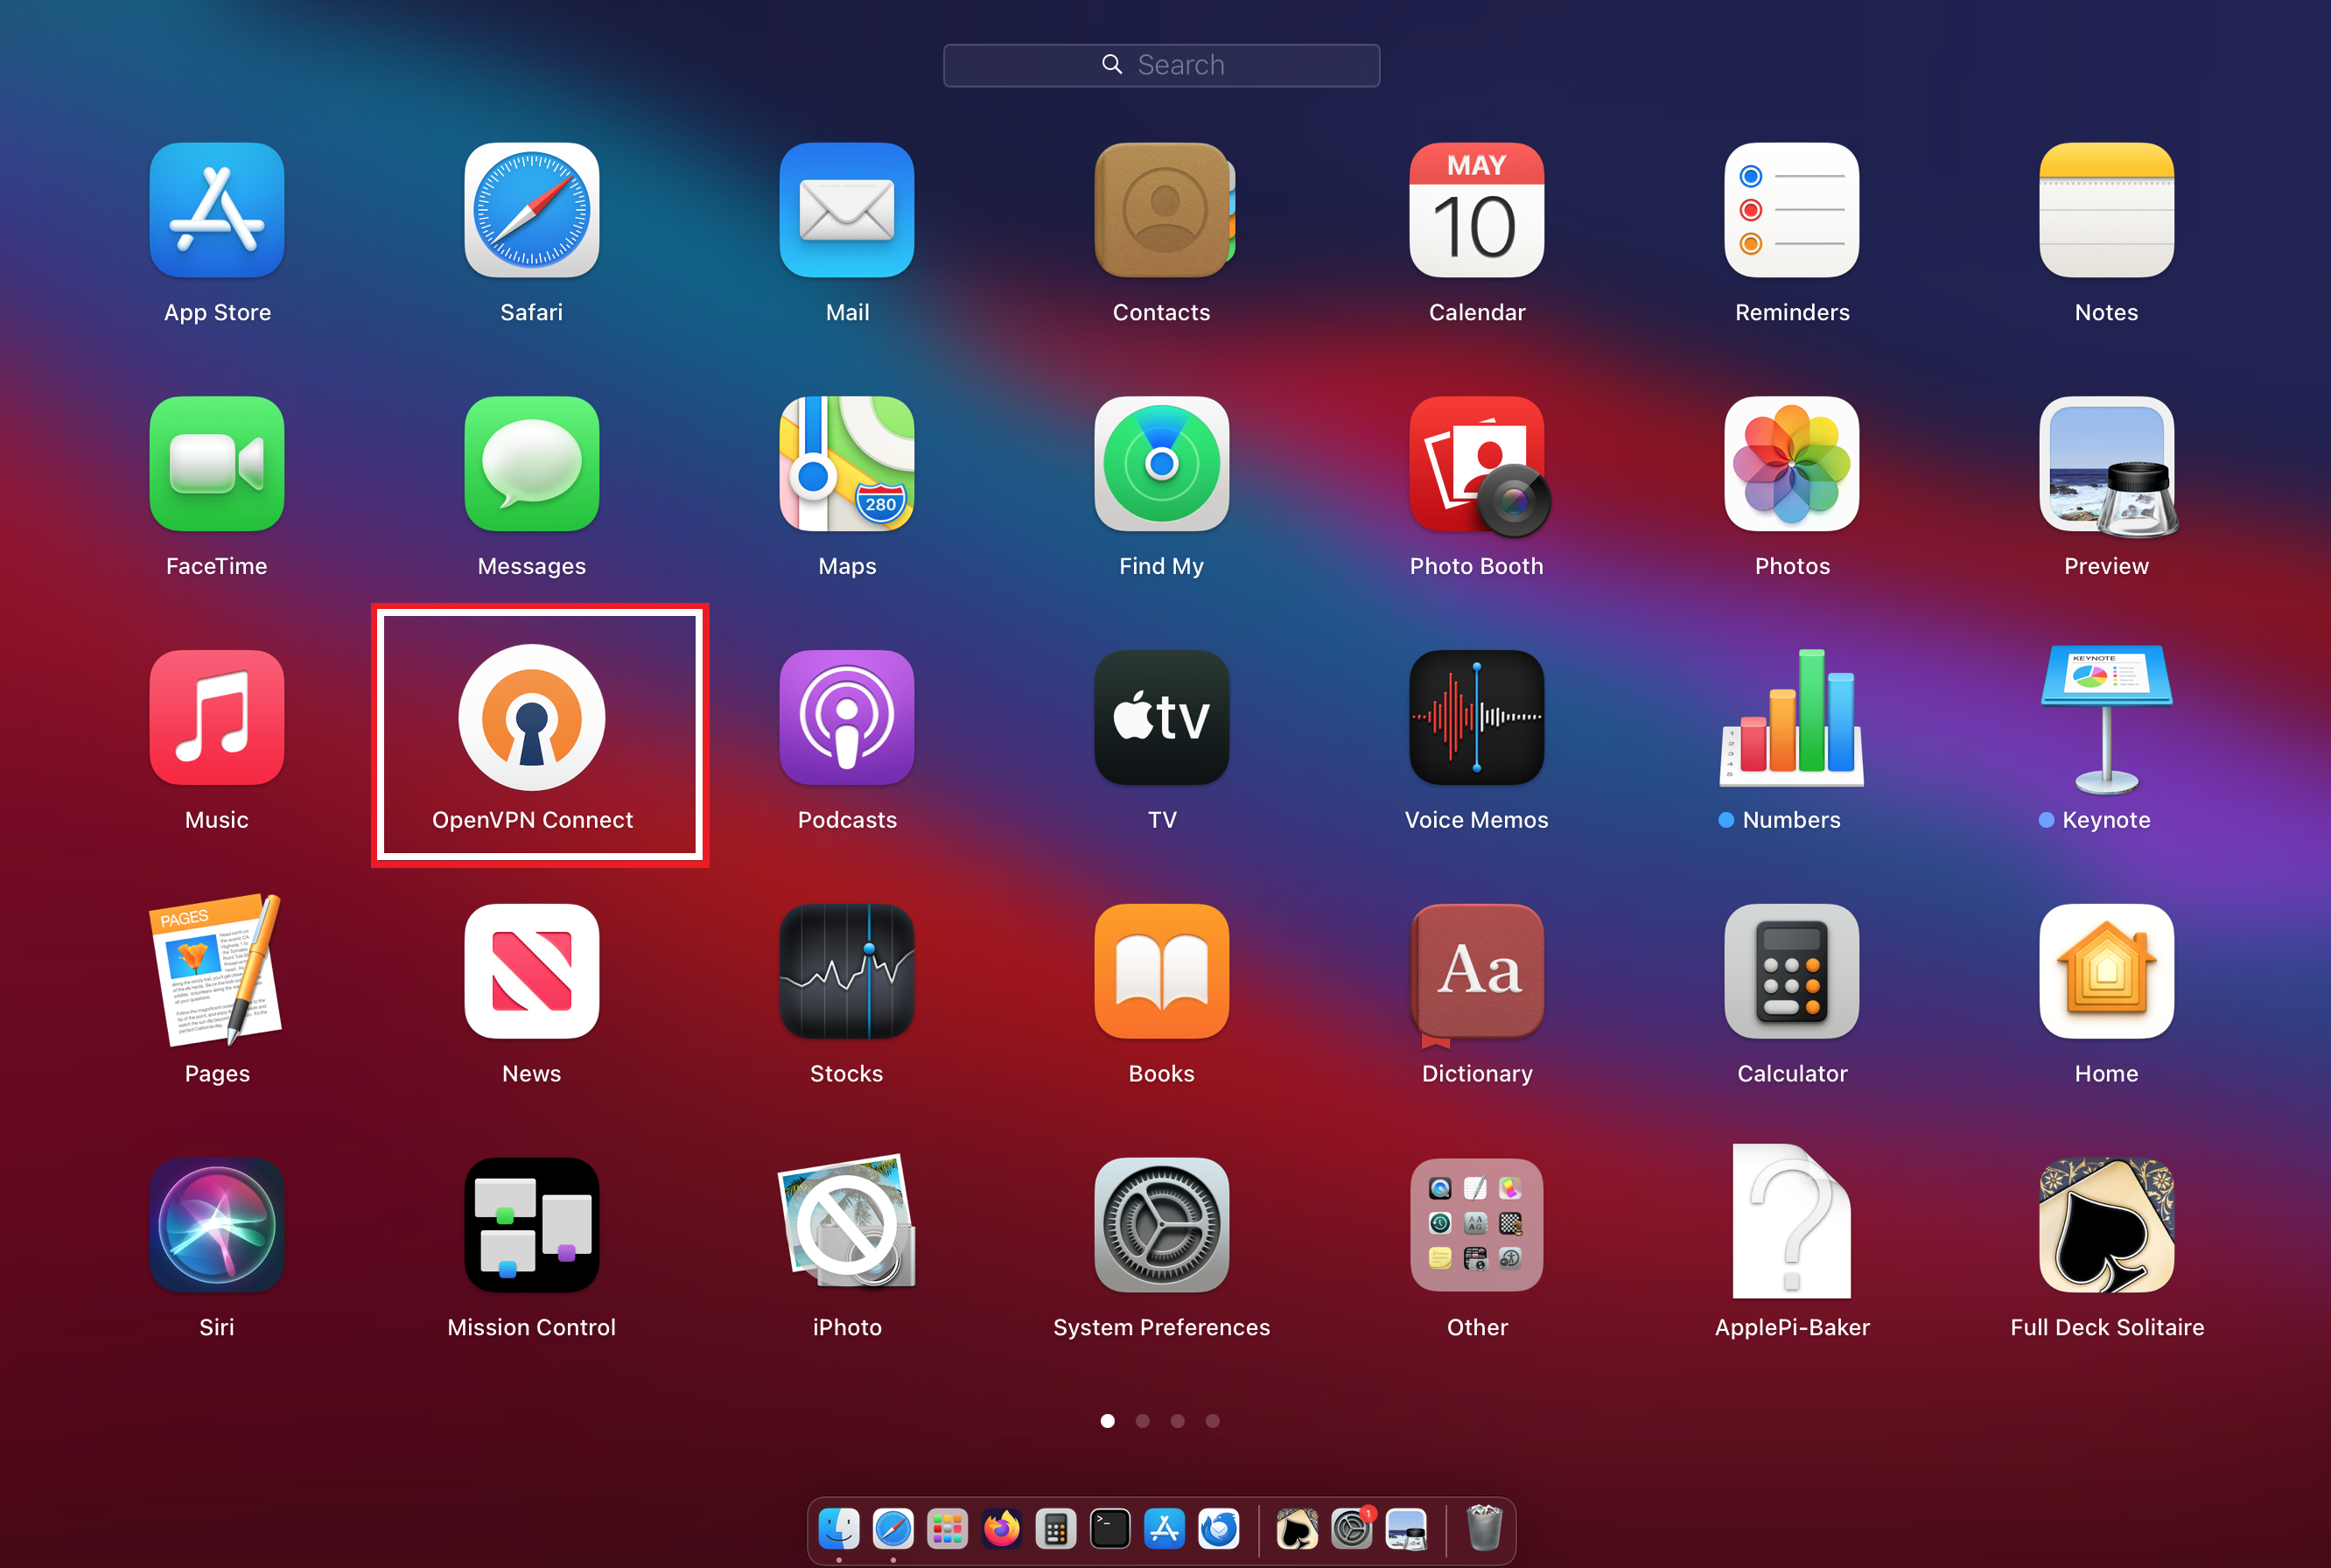
Then you should see the OpenVPN Connect app in your Launcher as shown below. Click on that to Launch OpenVPN.
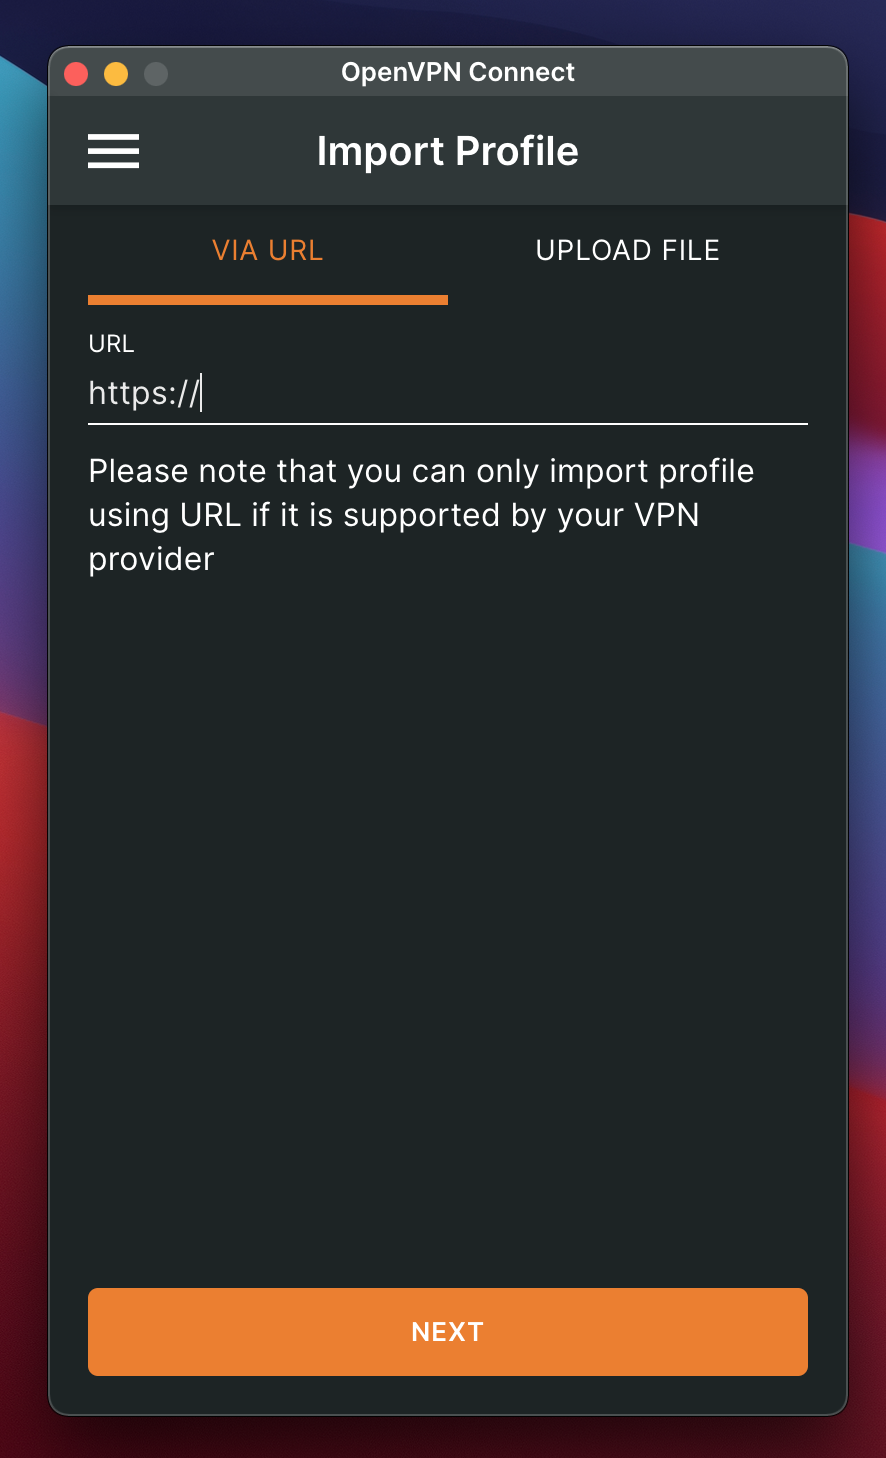
The OpenVPN Connect App is shown below. Switch to the "Upload File" Tab.
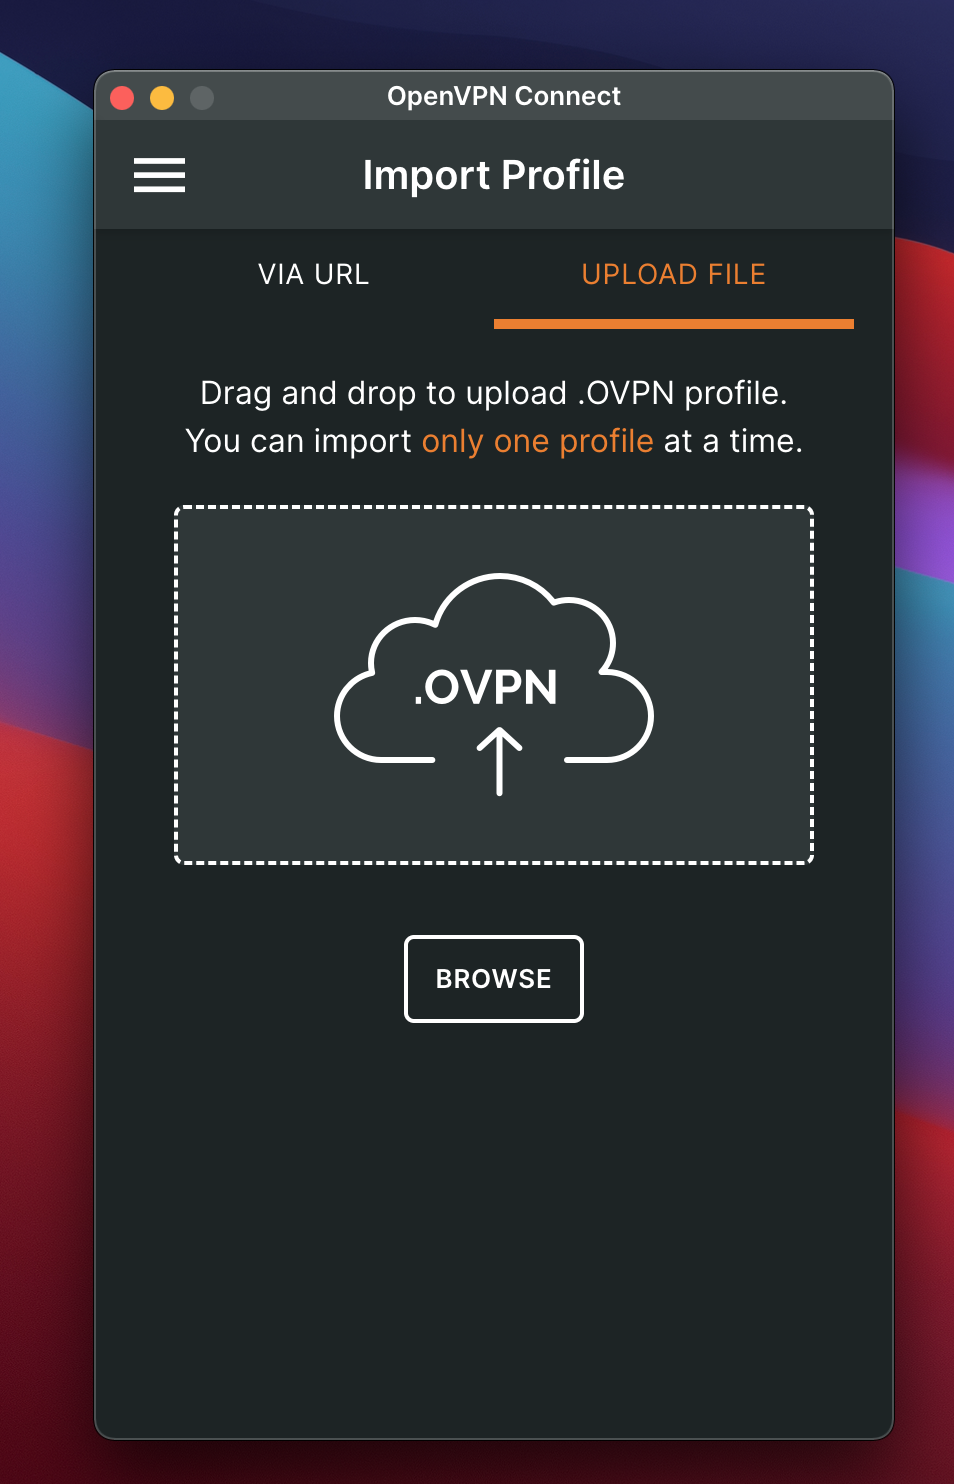
Now all you have to do here is open Finder and drag the VPN Profiles (ovpn files) that you predownloaded as
discussed above. And drop them in the middle of the window. Or you can use the Browse button to select the ovpn files.
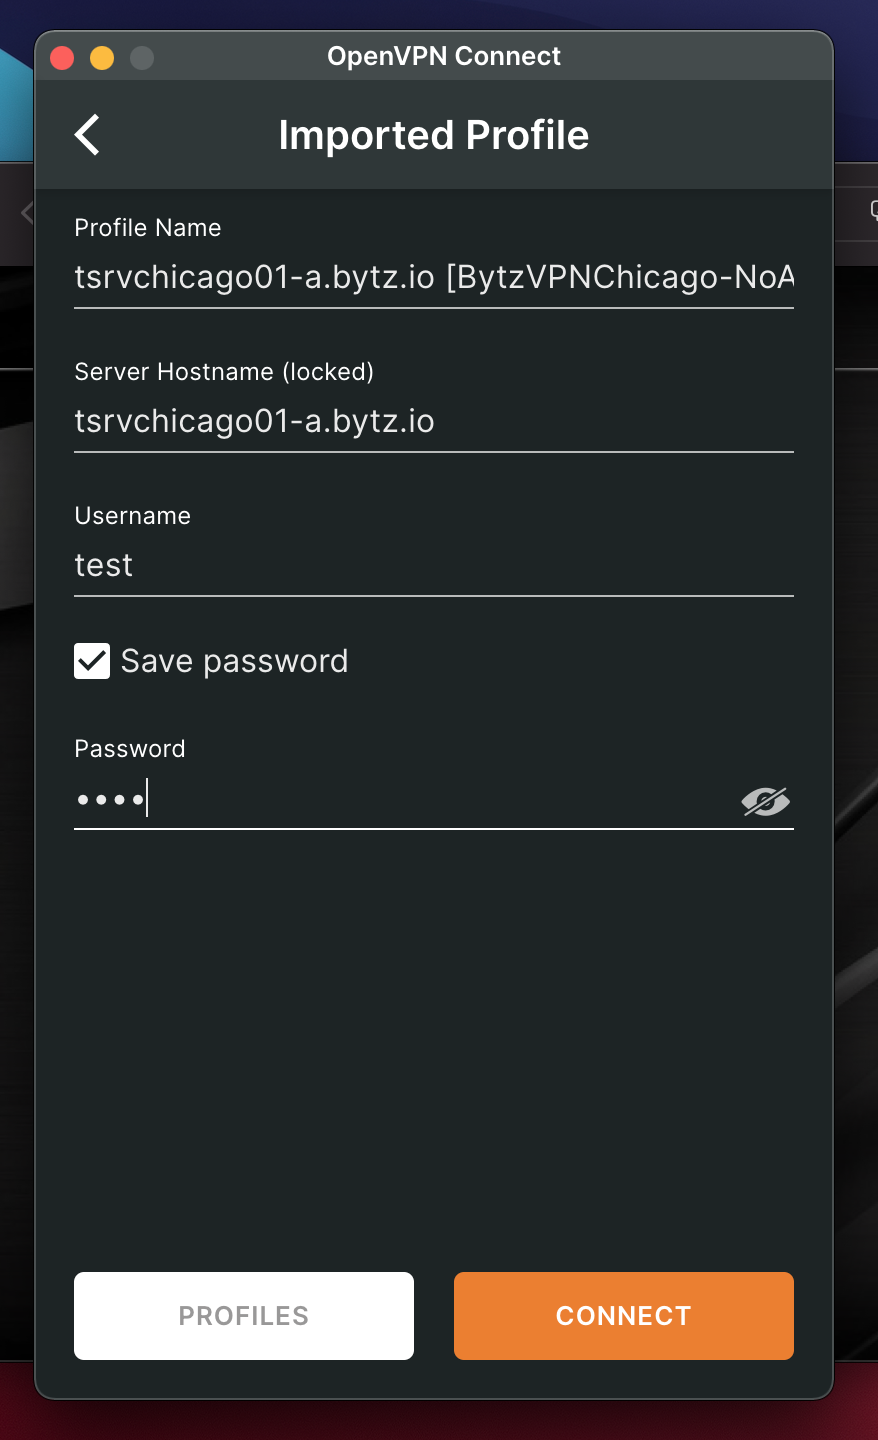
Each file must be imported one at a time. After you import the file, you will be asked to enter credentials as shown below.
The rest is already pre-filled. Just make sure to click on "Save Password" and enter the password. When complete, hit Connect.
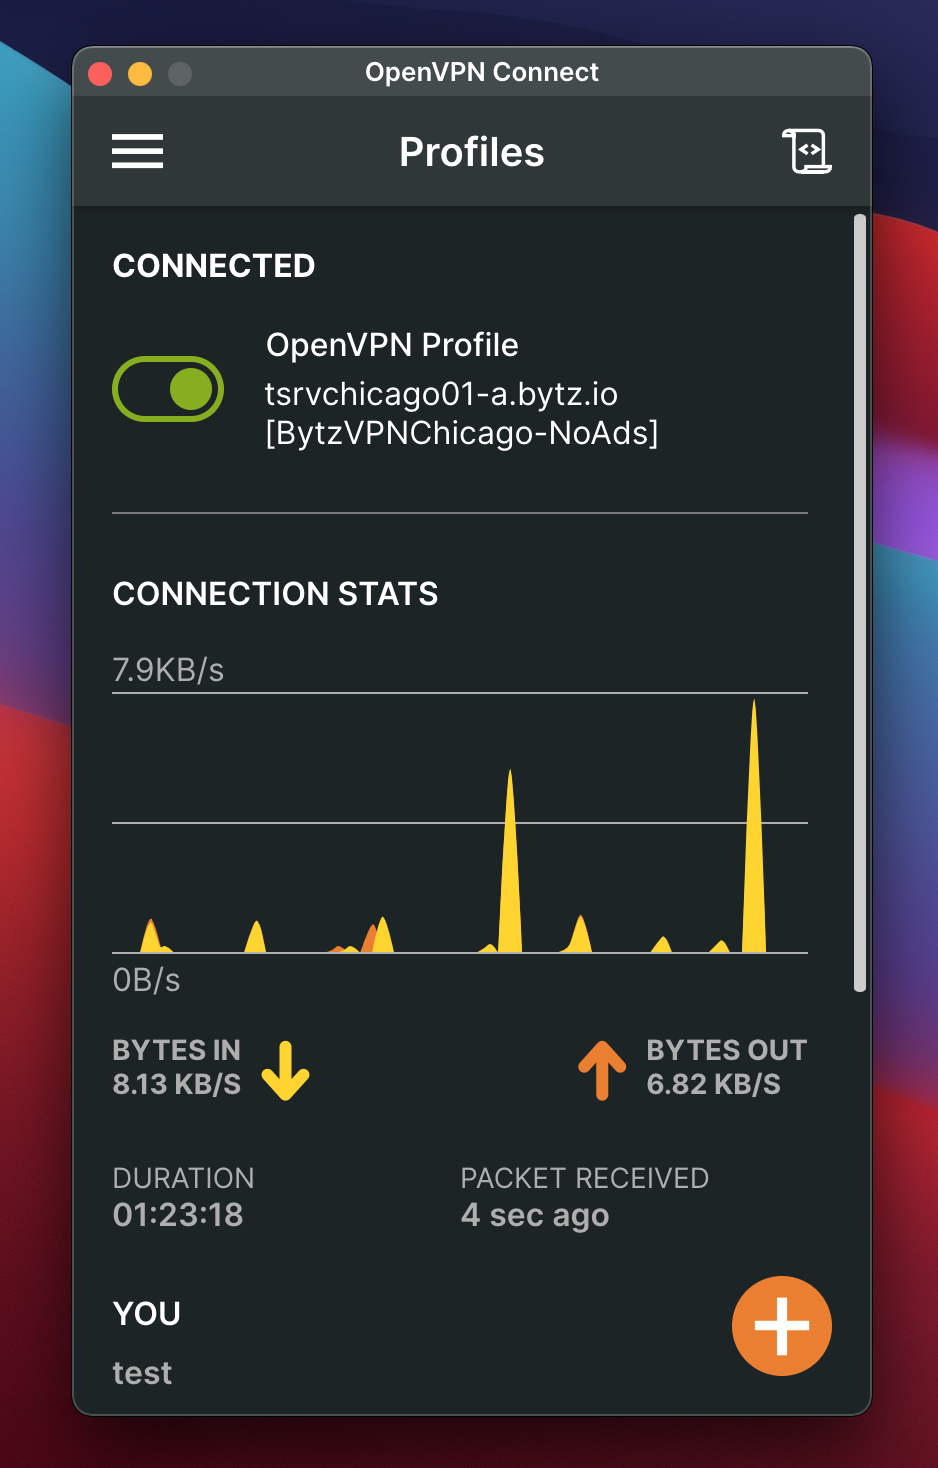
This will then show the display of VPN connections, which, if you have several ovpns, you will be able to toggle on and off.
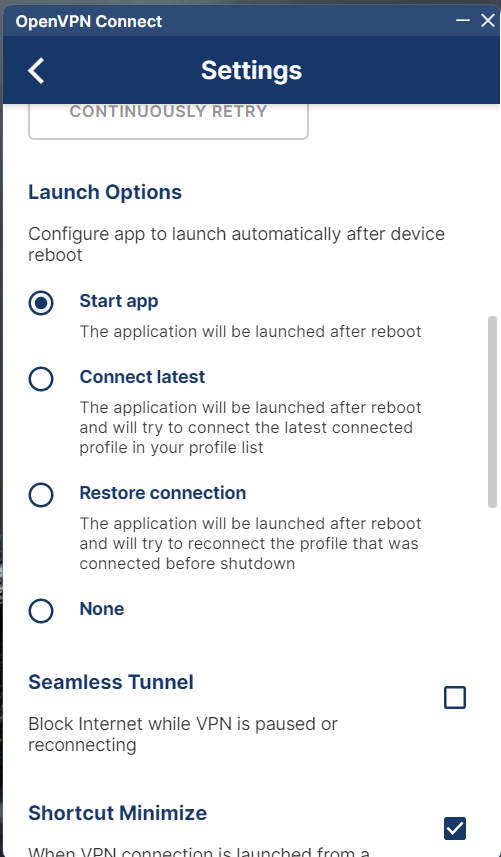
To Auto-Restart OpenVPN after a reboot, go to Settings on OpenVPN and select the option that you prefer: "Connect Latest", or
"Restore Connection". Also recommendeded is to enable "Seamless Tunnel" so that if the VPN network goes down, OpenVPN will act as a kill switch.
 BytzVPN - MacOS Installation